 Bassam Ahmad
2026-02-10
How to Set Up a Professional AVR Development Environment in VS Code
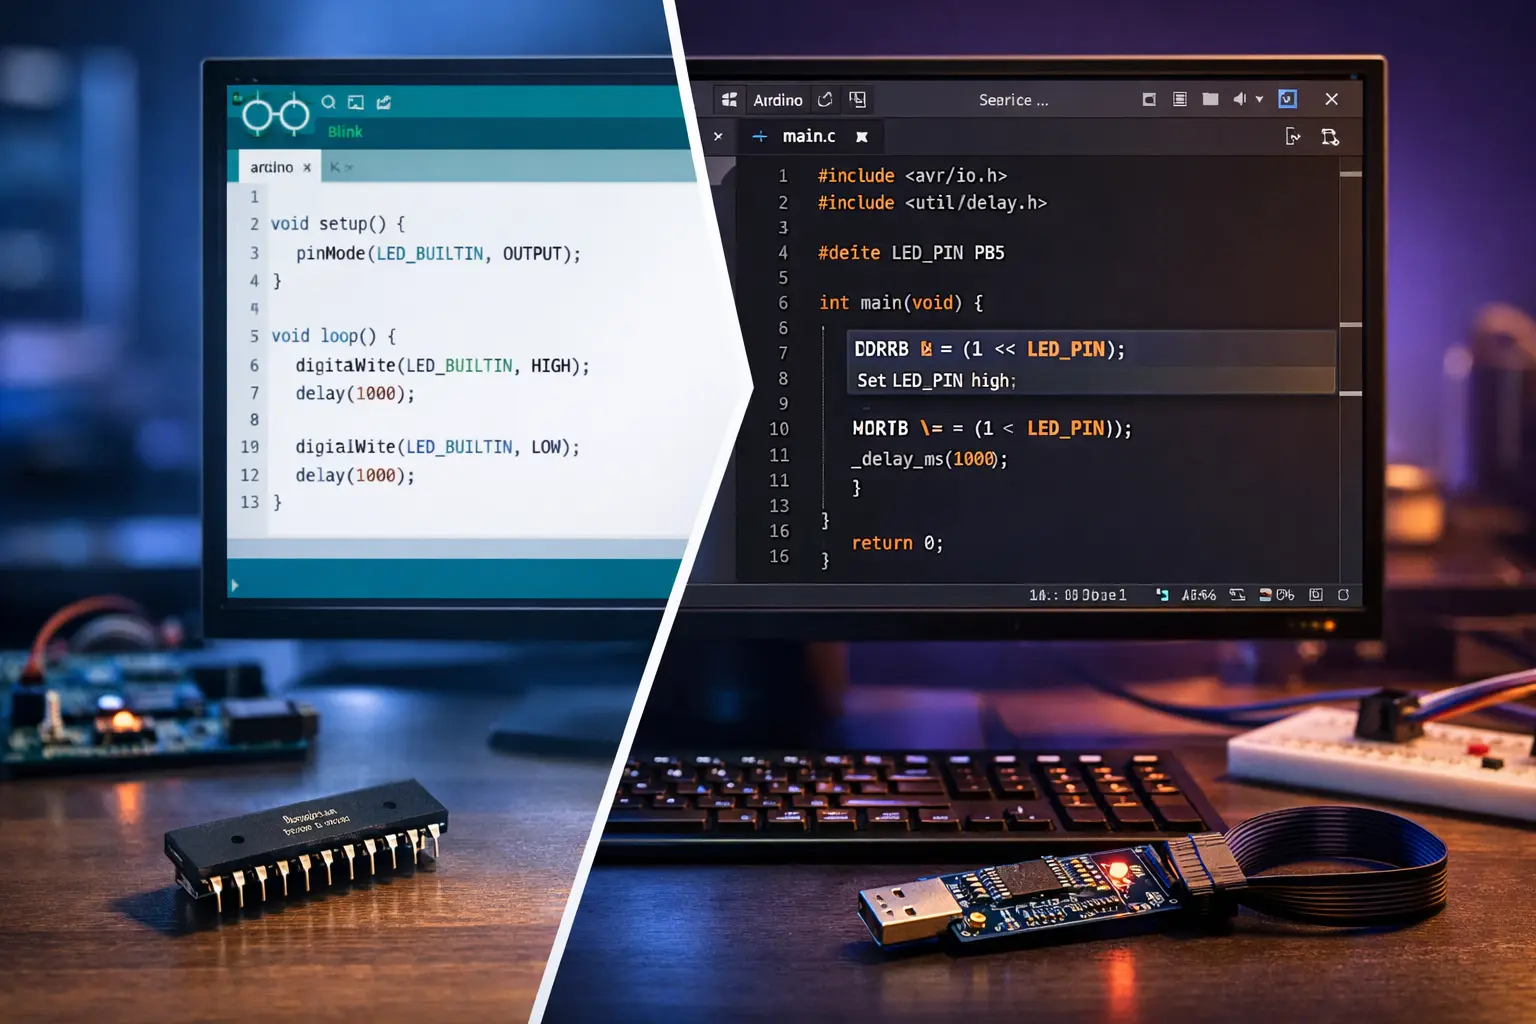
Introduction: Why Make the Switch?
If you’ve been programming AVR microcontrollers with the Arduino IDE, you’ve probably hit that frustrating wall where the simplicity that once felt liberating now feels limiting. You’re writing multi-file projects, but the IDE treats everything as a single sketch. You’re debugging by blinking LEDs and serial printing because there’s no real debugger.
It’s time to level up.
Moving to a professional development environment like Visual Studio Code isn’t just about having a fancier editor—it’s about adopting the workflows that professional embedded systems engineers use every day. Here’s what you’re gaining:
Advanced Debugging Capabilities Real breakpoints. Variable inspection. Step-through execution. With proper GDB integration, you’ll never go back to debugging by LED morse code.
Superior Code Navigation & IntelliSense Jump to definitions, find all references, intelligent autocomplete that actually understands your AVR registers and bit masks. VS Code’s IntelliSense, when properly configured, feels like having the datasheet open in your head.
Git Integration & Version Control
Stop naming files main_v2_final.c. Proper version control is built right into VS Code, making collaboration and project history trivial.
Multi-File Project Organization Structure your code like a professional: separate modules, header files, libraries. No more 1000-line sketches that make you want to cry.
Build System Flexibility Understand and control every step of compilation. Customize optimization flags. Link external libraries. Use Makefiles or modern build systems.
Industry-Standard Practices The skills you develop here transfer directly to professional embedded development, whether you end up working on ARM Cortex-M, PIC, or any other microcontroller family.
Who Should Read This?
This guide is for you if:
- You’re comfortable with C/C++ and understand basic embedded concepts (registers, interrupts, peripherals)
- You’ve outgrown Arduino IDE’s limitations
- You want to understand what’s happening under the hood, not just use magic functions
- You’re preparing for a career in embedded systems
- You’re a junior engineer setting up your first professional development environment
If you’re still learning microcontroller basics, stick with Arduino IDE for now—it’s an excellent learning platform. Come back when you’re ready to understand the full toolchain.
The Great Debate: Manual Setup vs. PlatformIO
Before we dive in, you face a critical decision: go manual with AVR-GCC or embrace the PlatformIO ecosystem. Both are valid professional choices, and your decision should align with your goals.
Option A: Manual AVR-GCC + avrdude Setup
The Pros:
- Complete Control: You manage every aspect of your toolchain, from compiler flags to linker scripts
- Minimal Dependencies: Install only what you need, nothing more
- Deep Understanding: When you manually configure the build process, you genuinely understand what’s happening at each step
- Transferable Knowledge: These skills apply to any microcontroller family—ARM, PIC, RISC-V, you name it
- Lightweight: Your project directory stays clean and minimal
The Cons:
- Manual Configuration: You’re responsible for setting up include paths, compiler flags, and build scripts
- Steeper Learning Curve: More to configure means more to learn upfront
- Dependency Management: When you need a library, you’re finding and integrating it yourself
- More Command-Line Work: Comfortable with terminals? Great. If not, prepare to become comfortable.
Option B: PlatformIO Extension
The Pros:
- One-Click Installation: Install the extension, wait a few minutes, and you’re ready to code
- Automatic Dependency Management: Libraries install with a single command
- Pre-Configured for Hundreds of Boards: From ATtiny to ESP32, it knows them all
- Unified Interface: Work with AVR today, ARM tomorrow, ESP32 next week—same workflow
- Integrated Tools: Serial monitor, uploader, library manager all built-in
- Modern Build System: CMake-based, supports complex project structures effortlessly
The Cons:
- Abstraction Layer: Some details are hidden, which can be frustrating when troubleshooting
- Larger Footprint: Installs Python, full toolchains, and significant dependencies
- Less Version Control: Harder to specify exact toolchain versions for reproducible builds
- “Magic” Factor: For those wanting to understand fundamentals, the convenience can feel like a black box
Our Recommendation
Choose Manual Setup if:
- You want deep understanding of the embedded build process
- You’re working on resource-constrained systems or have limited disk space
- You need precise control over compiler versions and flags
- You’re studying embedded systems academically
- You’re transitioning to professional bare-metal development
Choose PlatformIO if:
- You want to start coding immediately without toolchain hassles
- You work with multiple microcontroller platforms (AVR, ARM, ESP32, etc.)
- You prefer modern, opinionated workflows
- You’re building projects that need many third-party libraries
- You value rapid prototyping over understanding every detail
Neither choice is “wrong.” I started with manual setups to truly understand the process, then migrated to PlatformIO for production work. Many professionals use both: manual for learning and embedded Linux work, PlatformIO for rapid firmware development.
This guide covers both approaches comprehensively. Choose your path, or better yet, try both and see which workflow resonates.
Prerequisites & System Requirements
Before we begin, ensure you have:
Software:
- Visual Studio Code installed (download from code.visualstudio.com)
- Basic command-line familiarity (opening terminals, running commands, understanding paths)
Hardware:
- USB Programmer: USBasp, Arduino as ISP, Atmel-ICE, or similar
- USBasp is cheap (~$5) and widely compatible—recommended for beginners
- Arduino as ISP works if you have a spare Arduino board
- Target AVR Microcontroller: We’ll use the ATmega328P as our reference (same chip in Arduino Uno)
- USB cable to connect programmer to computer
- Basic breadboard setup (optional but recommended for testing)
Knowledge:
- Comfortable reading AVR datasheets (at least the register descriptions)
- Understanding of C programming (pointers, structs, bit manipulation)
- Basic electronics (you know what a pull-up resistor is)
Platform-Specific Notes:
- Windows: You may need to install USBasp drivers using Zadig
- Linux: You’ll need udev rules to avoid using
sudofor programming (we’ll cover this) - macOS: Homebrew makes installation smoother
Method 1: Manual AVR-GCC Setup (The Deep Dive)
This is the path of understanding. We’ll install the AVR toolchain manually, configure VS Code for intelligent code completion, and set up a build system from scratch. By the end, you’ll understand every step from .c source to uploaded .hex file.
Step 1: Installing the AVR Toolchain
The AVR toolchain consists of three critical components:
- avr-gcc: The compiler that translates your C code to AVR machine code
- avr-libc: Standard C library functions adapted for AVR microcontrollers
- avrdude: The uploader that transfers your compiled code to the chip
Windows Installation
-
Download the AVR-GCC toolchain from Microchip’s website or use WinAVR (older but stable)
-
Extract to a path without spaces (critical!):
C:\AVR\avr-gcc-14.1.0-x64-windows\ -
Add the
bindirectory to your PATH:- Open System Properties → Environment Variables
- Edit the
Pathvariable - Add:
C:\AVR\avr-gcc-14.1.0-x64-windows\bin - [Screenshot: Windows PATH configuration showing AVR bin directory]
-
Verify installation:
avr-gcc --version
avrdude -?
Linux Installation
Ubuntu/Debian users have it easiest:
sudo apt-get update
sudo apt-get install gcc-avr avr-libc avrdude
Verify:
avr-gcc --version
# Should show: avr-gcc (GCC) 5.4.0 or newer
Setting up udev rules (important!):
Create /etc/udev/rules.d/99-usbasp.rules:
# USBasp programmer
SUBSYSTEM=="usb", ATTR{idVendor}=="16c0", ATTR{idProduct}=="05dc", MODE="0666"
Reload rules:
sudo udevadm control --reload-rules
sudo udevadm trigger
macOS Installation
Using Homebrew:
brew tap osx-cross/avr
brew install avr-gcc avrdude
The toolchain installs to /usr/local/bin (already in PATH).
Verify:
avr-gcc --versionStep 2: Configuring VS Code IntelliSense
IntelliSense is VS Code’s code intelligence system—autocomplete, error detection, go-to-definition, and more. For AVR development, we need to tell it where to find AVR headers and which microcontroller we’re targeting.
Install the C/C++ Extension:
- Open VS Code
- Press
Ctrl+Shift+X(Extensions view) - Search for “C/C++” by Microsoft
- Install
Configure IntelliSense:
- Open your project folder in VS Code
- Press
Ctrl+Shift+P(Command Palette) - Type and select:
C/C++: Edit Configurations (JSON) - This creates
.vscode/c_cpp_properties.json
Example configuration for Windows:
{
    "configurations": [
        {
            "name": "AVR",
            "includePath": [
                "${workspaceFolder}/**",
                "C:/AVR/avr-gcc-14.1.0-x64-windows/avr/include",
                "C:/AVR/avr-gcc-14.1.0-x64-windows/lib/gcc/avr/14.1.0/include"
            ],
            "defines": [
                "__AVR_ATmega328P__",
                "F_CPU=16000000UL"
            ],
            "compilerPath": "C:/AVR/avr-gcc-14.1.0-x64-windows/bin/avr-gcc.exe",
            "cStandard": "c11",
            "cppStandard": "c++17",
            "intelliSenseMode": "gcc-x64"
        }
    ],
    "version": 4
}
For Linux:
{
    "configurations": [
        {
            "name": "AVR",
            "includePath": [
                "${workspaceFolder}/**",
                "/usr/lib/avr/include"
            ],
            "defines": [
                "__AVR_ATmega328P__",
                "F_CPU=16000000UL"
            ],
            "compilerPath": "/usr/bin/avr-gcc",
            "cStandard": "c11",
            "cppStandard": "c++17",
            "intelliSenseMode": "gcc-x64"
        }
    ],
    "version": 4
}
For macOS:
{
    "configurations": [
        {
            "name": "AVR",
            "includePath": [
                "${workspaceFolder}/**",
                "/usr/local/Cellar/avr-gcc@*/*/avr/include"
            ],
            "defines": [
                "__AVR_ATmega328P__",
                "F_CPU=16000000UL"
            ],
            "compilerPath": "/usr/local/bin/avr-gcc",
            "cStandard": "c11",
            "cppStandard": "c++17",
            "intelliSenseMode": "gcc-x64"
        }
    ],
    "version": 4
}
Critical Configuration Notes:
includePath: Where VS Code looks for header files. Adjust paths to match your installation.__AVR_ATmega328P__: Tells IntelliSense which chip you’re using. Change for different AVRs (e.g.,__AVR_ATtiny85__)F_CPU: Your clock frequency. Change if using different crystal or internal oscillator.
After saving, IntelliSense should work! Type #include <avr/io.h> and autocomplete should suggest AVR-specific headers.
Step 3: Creating a Makefile Build System
Makefiles define how your project compiles. Here’s a professional, well-commented template:
Create Makefile in your project root:
# MCU Configuration
MCU = atmega328p
F_CPU = 16000000UL
PROGRAMMER = usbasp

# Project Configuration
TARGET = main
SRC = main.c
# Add more source files: SRC = main.c uart.c spi.c

# Compiler Settings
CC = avr-gcc
OBJCOPY = avr-objcopy
SIZE = avr-size
AVRDUDE = avrdude

# Compiler Flags
CFLAGS = -mmcu=$(MCU) -DF_CPU=$(F_CPU) -Os -Wall -Wextra -std=gnu99
CFLAGS += -funsigned-char -funsigned-bitfields -fpack-struct -fshort-enums
CFLAGS += -ffunction-sections -fdata-sections
LDFLAGS = -Wl,--gc-sections

# Build Directory
BUILD_DIR = build

# Object Files
OBJ = $(SRC:%.c=$(BUILD_DIR)/%.o)

# Default Target
all: $(BUILD_DIR) $(BUILD_DIR)/$(TARGET).hex size

# Create Build Directory
$(BUILD_DIR):
	mkdir -p $(BUILD_DIR)

# Compile C files to object files
$(BUILD_DIR)/%.o: %.c
	$(CC) $(CFLAGS) -c $< -o $@

# Link object files to ELF
$(BUILD_DIR)/$(TARGET).elf: $(OBJ)
	$(CC) $(CFLAGS) $(LDFLAGS) $^ -o $@

# Create HEX file from ELF
$(BUILD_DIR)/$(TARGET).hex: $(BUILD_DIR)/$(TARGET).elf
	$(OBJCOPY) -O ihex -R .eeprom $< $@

# Show size information
size: $(BUILD_DIR)/$(TARGET).elf
	$(SIZE) --format=avr --mcu=$(MCU) $<

# Upload to MCU
upload: $(BUILD_DIR)/$(TARGET).hex
	$(AVRDUDE) -c $(PROGRAMMER) -p $(MCU) -U flash:w:$<:i

# Clean build artifacts
clean:
	rm -rf $(BUILD_DIR)

# Declare phony targets
.PHONY: all size upload clean
Using the Makefile:
# Compile your project
make

# Upload to microcontroller
make upload

# Clean build files
make clean
Understanding Key Compiler Flags:
-Os: Optimize for size (critical for small AVR memory)-Wall -Wextra: Enable all warnings (catch potential bugs)-mmcu=atmega328p: Target specific microcontroller-ffunction-sections -fdata-sections: Allow unused code removal-Wl,--gc-sections: Remove unused functions at link time (saves flash)
Step 4: Setting Up VS Code Tasks
VS Code tasks let you compile and upload directly from the editor.
Create .vscode/tasks.json:
{
    "version": "2.0.0",
    "tasks": [
        {
            "label": "Build AVR Project",
            "type": "shell",
            "command": "make",
            "group": {
                "kind": "build",
                "isDefault": true
            },
            "problemMatcher": {
                "owner": "cpp",
                "fileLocation": ["relative", "${workspaceFolder}"],
                "pattern": {
                    "regexp": "^(.*):(\\d+):(\\d+):\\s+(warning|error):\\s+(.*)$",
                    "file": 1,
                    "line": 2,
                    "column": 3,
                    "severity": 4,
                    "message": 5
                }
            }
        },
        {
            "label": "Upload to AVR",
            "type": "shell",
            "command": "make upload",
            "dependsOn": ["Build AVR Project"],
            "problemMatcher": []
        },
        {
            "label": "Clean Build",
            "type": "shell",
            "command": "make clean",
            "problemMatcher": []
        }
    ]
}
Using tasks:
- Press
Ctrl+Shift+B(default build task) → Compiles your project - Press
Ctrl+Shift+P→ “Run Task” → “Upload to AVR” - Build errors appear in the “Problems” panel with clickable file locations
Step 5: Your First Program
Create main.c:
#define F_CPU 16000000UL  // 16 MHz clock

#include <avr/io.h>
#include <util/delay.h>

int main(void) {
    // Set Pin 13 (PB5 on ATmega328P) as output
    DDRB |= (1 << PB5);

    while (1) {
        // Toggle LED
        PORTB ^= (1 << PB5);
        _delay_ms(500);
    }

    return 0;
}
Build and upload:
make
make upload
If your LED blinks, congratulations! You’ve just compiled and uploaded AVR code from VS Code without Arduino IDE.
Method 2: PlatformIO Setup (The Quick Path)
PlatformIO wraps all the complexity into a single extension. Perfect if you want to write code, not configure toolchains.
Step 1: Installing PlatformIO
- Open VS Code
- Press
Ctrl+Shift+X(Extensions) - Search “PlatformIO IDE”
- Click Install
- Wait for installation (downloads ~500MB of toolchains and frameworks)
- Restart VS Code
You’ll see the PlatformIO icon in the left sidebar (alien head).
Step 2: Creating Your First Project
- Click the PlatformIO icon → “New Project”
- Fill in details:
- Name:
blink_led - Board: Search and select “Arduino Uno” (or your specific board)
- Framework: Arduino (or “None” for pure AVR-GCC)
- Name:
- Click “Finish”
PlatformIO creates this structure:
blink_led/
├── .pio/               # Build artifacts (auto-generated)
├── include/            # Header files
├── lib/                # Project-specific libraries
├── src/
│   └── main.c         # Your main source file
├── test/              # Unit tests
└── platformio.ini     # Project configuration
Step 3: Configuring platformio.ini
For Arduino Framework (easiest):
[env:uno]
platform = atmelavr
board = uno
framework = arduino
upload_protocol = usbasp
upload_speed = 19200

; Monitor settings
monitor_speed = 9600
For Pure AVR (no Arduino libraries):
[env:atmega328p]
platform = atmelavr
board = ATmega328P
framework =

; Clock frequency
board_build.f_cpu = 16000000L

; Programmer
upload_protocol = usbasp
upload_flags =
    -B5

; Fuse settings (optional)
board_fuses.lfuse = 0xFF
board_fuses.hfuse = 0xDE
board_fuses.efuse = 0xFD

; Compiler flags
build_flags =
    -Os
    -Wall
    -Wextra
Advanced: Multiple Environments
[platformio]
default_envs = uno

[env:uno]
platform = atmelavr
board = uno
framework = arduino
upload_protocol = usbasp

[env:atmega328p_bare]
platform = atmelavr
board = ATmega328P
board_build.f_cpu = 16000000L
upload_protocol = usbasp
build_flags = -Os -Wall
Step 4: Writing Your First Program
Arduino Framework (src/main.cpp):
#include <Arduino.h>

void setup() {
    pinMode(LED_BUILTIN, OUTPUT);
}

void loop() {
    digitalWrite(LED_BUILTIN, HIGH);
    delay(500);
    digitalWrite(LED_BUILTIN, LOW);
    delay(500);
}
Pure AVR (src/main.c):
#include <avr/io.h>
#include <util/delay.h>

int main(void) {
    DDRB |= (1 << PB5);  // Set PB5 as output

    while (1) {
        PORTB ^= (1 << PB5);
        _delay_ms(500);
    }

    return 0;
}
Step 5: Building and Uploading
Using the PlatformIO Toolbar:
- ✓ (checkmark): Build
- → (arrow): Upload
- 🗑️ (trash): Clean
- 🔌 (plug): Serial Monitor
Using Command Palette (Ctrl+Shift+P):
- “PlatformIO: Build”
- “PlatformIO: Upload”
- “PlatformIO: Upload and Monitor”
Using Terminal:
pio run              # Build
pio run -t upload    # Upload
pio run -t clean     # Clean
Step 6: Understanding PlatformIO Output
After building, you’ll see:
RAM:   [=         ]   1.2% (used 24 bytes from 2048 bytes)
Flash: [          ]   2.5% (used 812 bytes from 32256 bytes)
Advanced Features for Both Methods
Debugging with simavr
Real debugging with breakpoints is possible using simavr (AVR simulator) or hardware debuggers.
Installing simavr (Linux):
sudo apt-get install simavrBasic debugging workflow:
- Compile with debug symbols:
-g - Run simavr:
simavr -g -m atmega328p firmware.elf - In another terminal, connect GDB:
avr-gdb firmware.elf - In GDB:
target remote :1234 - Set breakpoints:
break main - Run:
continue
For PlatformIO, configure platformio.ini:
debug_tool = simavr
debug_init_break = tbreak main
Then press F5 to start debugging!
Version Control Integration
Create .gitignore:
# Build artifacts
*.o
*.elf
*.hex
*.map
*.lst
*.eep
*.lss

# PlatformIO
.pio/
.vscode/.browse.c_cpp.db*
.vscode/c_cpp_properties.json
.vscode/launch.json

# OS files
.DS_Store
Thumbs.db
Commit these files:
- Source code (
.c,.h) platformio.iniorMakefile.vscode/tasks.json.vscode/c_cpp_properties.json(if using manual setup)
Essential VS Code Extensions
Serial Monitor (ms-vscode.vscode-serial-monitor):
- Read/write serial data directly in VS Code
- Better than Arduino IDE’s monitor
Hex Editor (ms-vscode.hexeditor):
- View
.hexand.elffiles visually - Useful for analyzing memory layout
Error Lens (usernamehw.errorlens):
- Shows compiler errors inline in your code
- Reduces back-and-forth with build output
Include Autocomplete (ajshort.include-autocomplete):
- Better autocomplete for
#includestatements
Troubleshooting Common Issues
“avr-gcc: command not found”
Diagnosis: PATH environment variable doesn’t include AVR toolchain.
Fix:
- Windows: Verify
C:\AVR\...\binis in System PATH, restart terminal - Linux: Run
which avr-gccto find installation path, add to~/.bashrc:export PATH=$PATH:/usr/bin - macOS: Homebrew should handle this automatically; try
brew doctor
IntelliSense Shows Red Squiggles but Code Compiles
Diagnosis: c_cpp_properties.json not configured correctly.
Fix:
- Verify
includePathpoints to actual AVR include directory - Check
definesincludes__AVR_ATmega328P__(or your chip) - Restart VS Code:
Ctrl+Shift+P→ “Reload Window”
Upload Fails: “Device not found” or Permission Denied
Diagnosis: Programmer not connected or driver/permission issue.
Fix:
- Windows: Install USBasp drivers using Zadig
- Linux: Check udev rules (see Linux installation section)
lsusb | grep -i usb # Verify programmer shows up sudo avrdude -c usbasp -p m328p # Test with sudo - macOS: Usually works out of the box; verify with
system_profiler SPUSBDataType
Code Runs Differently Than Expected
Diagnosis: Clock speed mismatch or fuse bits incorrect.
Fix:
- Verify
F_CPUmatches actual clock:- Most ATmega328P chips: 16 MHz with external crystal
- Blank chips: 1 MHz internal oscillator (default)
- Check fuse bits:
For 16 MHz external crystal, low fuse should beavrdude -c usbasp -p m328p -U lfuse:r:-:h0xFF
PlatformIO Stuck on “Resolving dependencies”
Diagnosis: Network issue or corrupted cache.
Fix:
# Clear PlatformIO cache
pio system prune --force

# Rebuild project
pio run --target clean
pio run
Conclusion: You’re Now a Professional
Congratulations! You’ve transcended the Arduino IDE’s limitations and joined the ranks of professional embedded developers. You now have:
✅ A proper development environment with real IntelliSense, debugging capabilities, and version control ✅ Understanding of the toolchain from source code to uploaded firmware ✅ Professional workflows used in industry every day ✅ Skills that transfer to any microcontroller family or embedded platform ✅ The foundation for advanced embedded systems engineering
Where to Go Next
Deepen Your AVR Knowledge:
- Study the ATmega328P datasheet thoroughly—it’s your bible
- Implement UART, SPI, I2C communication from scratch
- Master timer/counters for PWM and timing
- Explore interrupts for responsive embedded systems
- Dive into low-power modes for battery-operated devices
Expand Your Toolset:
- Learn Git properly: branching, merging, rebasing
- Write unit tests for embedded code (Unity framework)
- Use logic analyzers and oscilloscopes for hardware debugging
- Explore RTOS (Real-Time Operating Systems) like FreeRTOS
Level Up to Different Platforms:
- ARM Cortex-M microcontrollers (STM32, Nordic nRF52)
- ESP32 for WiFi/Bluetooth projects
- RISC-V microcontrollers (the future!)
Essential Resources
Documentation:
- AVR Libc Reference: Your primary reference for AVR programming
- ATmega328P Datasheet: Learn the chip inside-out
- GCC AVR Options: Compiler flags explained
Communities:
- AVR Freaks Forum: Long-standing AVR community
- r/embedded: Professional embedded systems subreddit
- EEVblog Forum: Electronics and embedded discussions
YouTube Channels:
- Mitch Davis (excellent AVR tutorials)
- Ben Eater (hardware fundamentals)
- GreatScott! (practical embedded projects)
The journey from Arduino IDE to professional development tools isn’t just about better software—it’s about becoming a more capable engineer. You now understand what’s happening under the hood, and that knowledge will serve you throughout your embedded systems career.
Your blinking LED is no longer just a blinking LED. It’s compiled C code, optimized machine instructions, carefully timed register manipulations, and precise hardware control. That’s the difference between a hobbyist and an engineer.
Now go build something amazing. 🚀
Found this guide helpful? Have questions or suggestions? Feel free to reach out or contribute improvements. Happy hacking!